
By Michael Mongon
Feb-12, 2024 19:29
The Bookshelf

Nognom's Finished Bookshelf, by: Michael Mongon
I like to tinker and build things as much as I like to read and write. Where much of my tinkering is all in computers and the web, there are plenty of projects that pull me into the physical world as well. The combination of all of this is a good bookshelf.
The Project Requirements
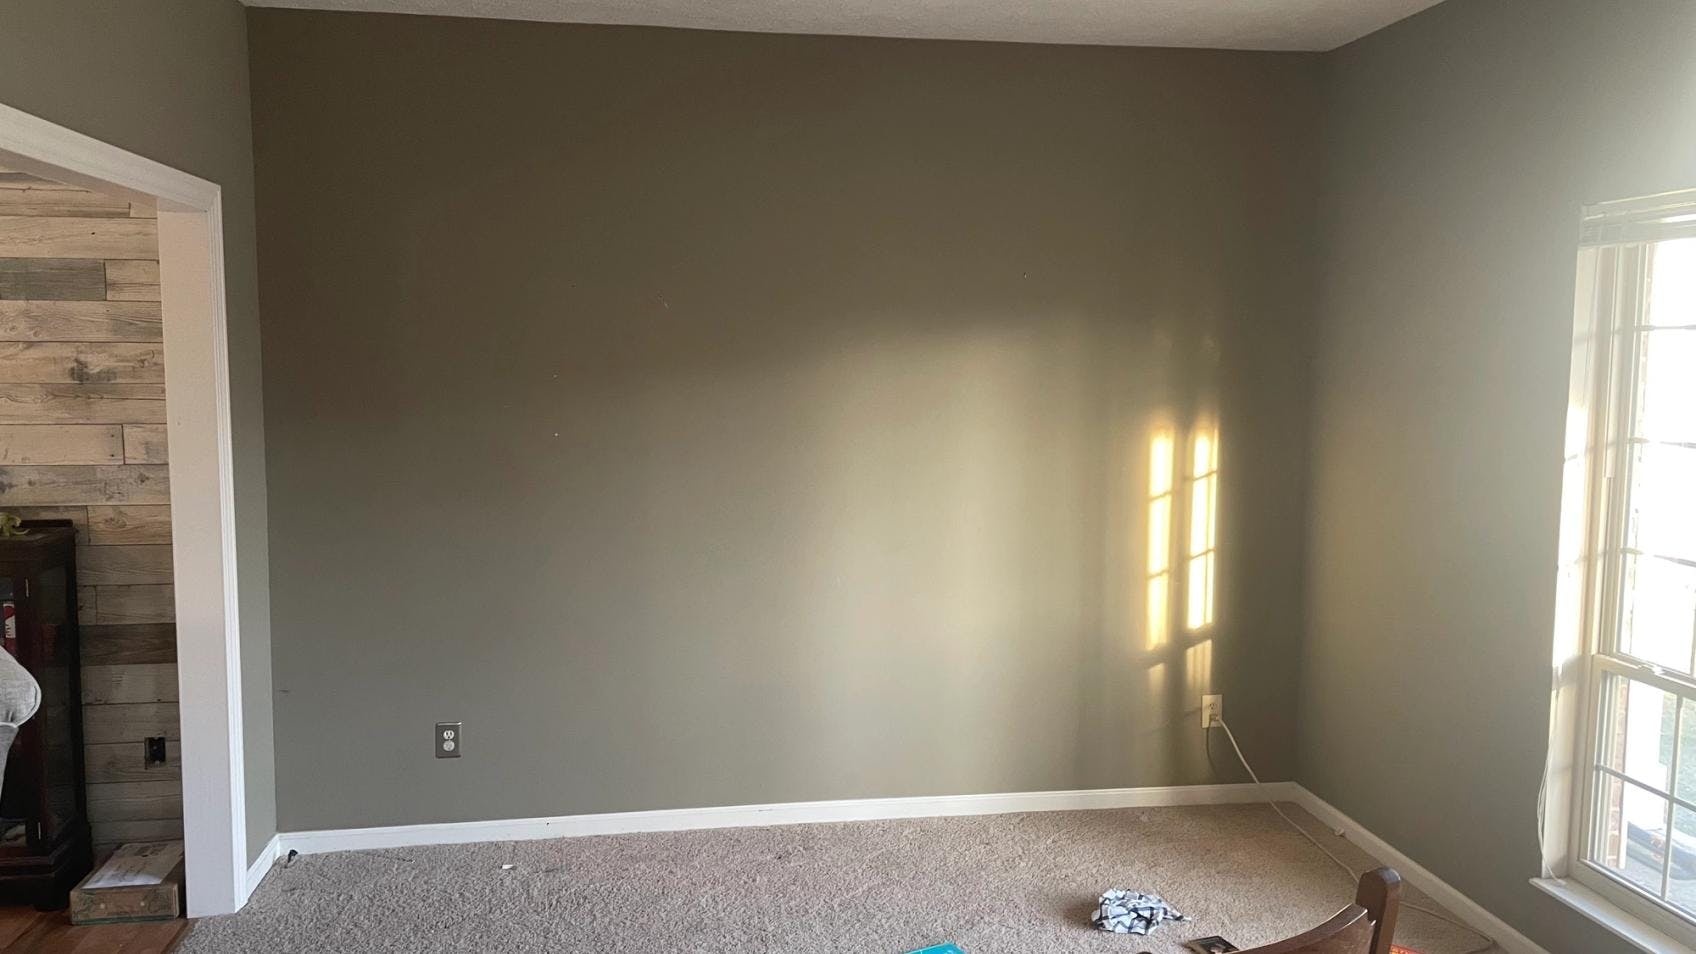
The empty wall before the bookshelf by: Michael Mongon
Any good project starts with gathering the requirements. The family and I wanted to have a bookshelf for all of us. So we had good conversations about what we wanted. The space would be on a wall, 9-foot tall and 142 inches long, almost 12 feet.
Nice to haves
All good projects have some items that are not hard requirements, but things to consider while planning:
Project Research
Research is half the fun of any personal project by: Michael Mongon
An Ikea was put in near us, as well as in our area we have Home Depot, Lowes, and Menards all about the same distance. Resources were something interesting to research. All of these places offered comparable prices on prebuilt shelving that you just had to mount to walls. They all offered lumber at comparable prices, although Menards was the cheapest there.
The drawback was that nothing offered anything prebuilt at 8-foot tall to fit in a 9-foot ceiling, nor 14 inches in depth. Everything prebuilt is only 12 inches in depth from what we found. This meant that our scope would be larger because we couldn’t get anything pre-built and would need to do something custom. The custom choice did offer us more options though.
Decisions
We would use the prefab shelf board. You can find these best at Home Depot in a standard size that is almost 8 feet tall. This would allow us to build a small lip at the bottom so it would look nice, and leave about a 1-foot gap at the top that we could mount a ladder to. We would reinforce the shelf walls by adding a 1x3 8 feet long so that each column was strong, as well as a 1x2 in the back to take care of the gap for the 14” depth. The standard prefab board is only 111.75 inches deep after all. This would mean we would need a lot of custom cut shelves because again the standard size is 12 inches, not 14, but that extra work would make it worth it. In the end the final estimates of material:
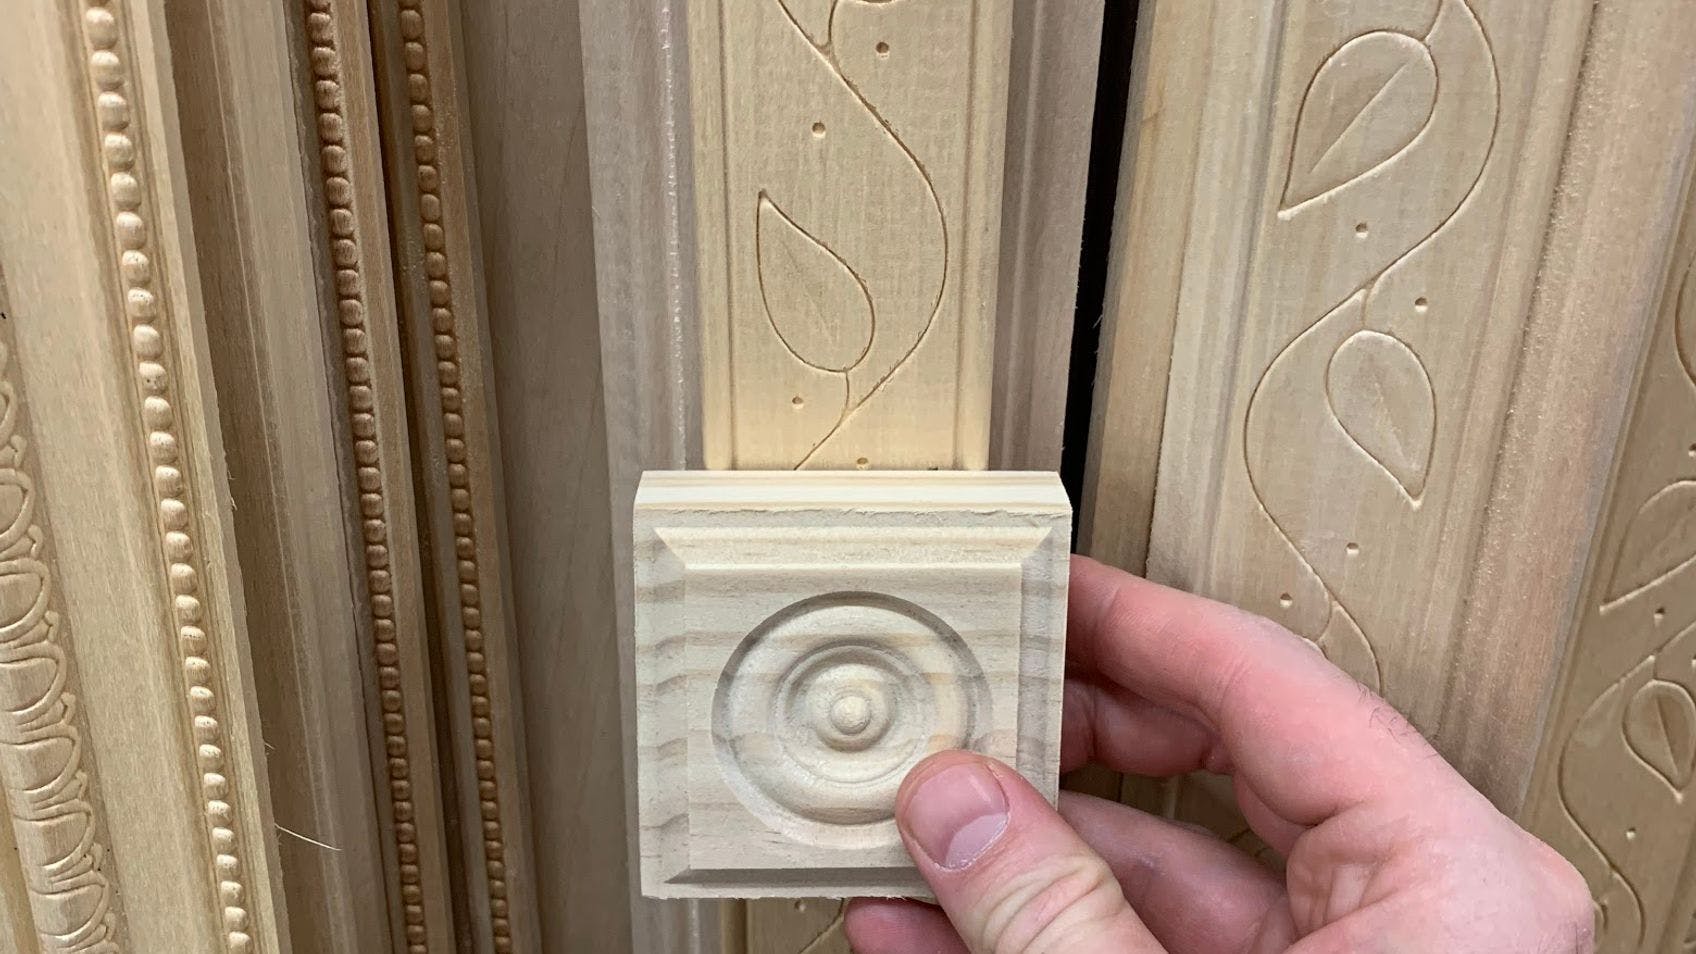
We also decided on several accent pieces to hit the nice look we were looking for.
The Teardown
As enjoyable as deconstruction is, we wanted to keep the carpet, for now but didn’t want to go crazy. Some would say, just build everything on top, and I will tell you that is the silliest shortsighted construction idea I’ve ever heard. It’s like carpeting over hardwood floors and using nails and glue. It’s a waste and is hell to whoever comes next to clean up your poor decision. I won’t make those decisions in my work because I tend to be the one who comes back later. This meant I needed to tear up only part of the carpet, and the back baseboard for starters. To get the bottom framing in.
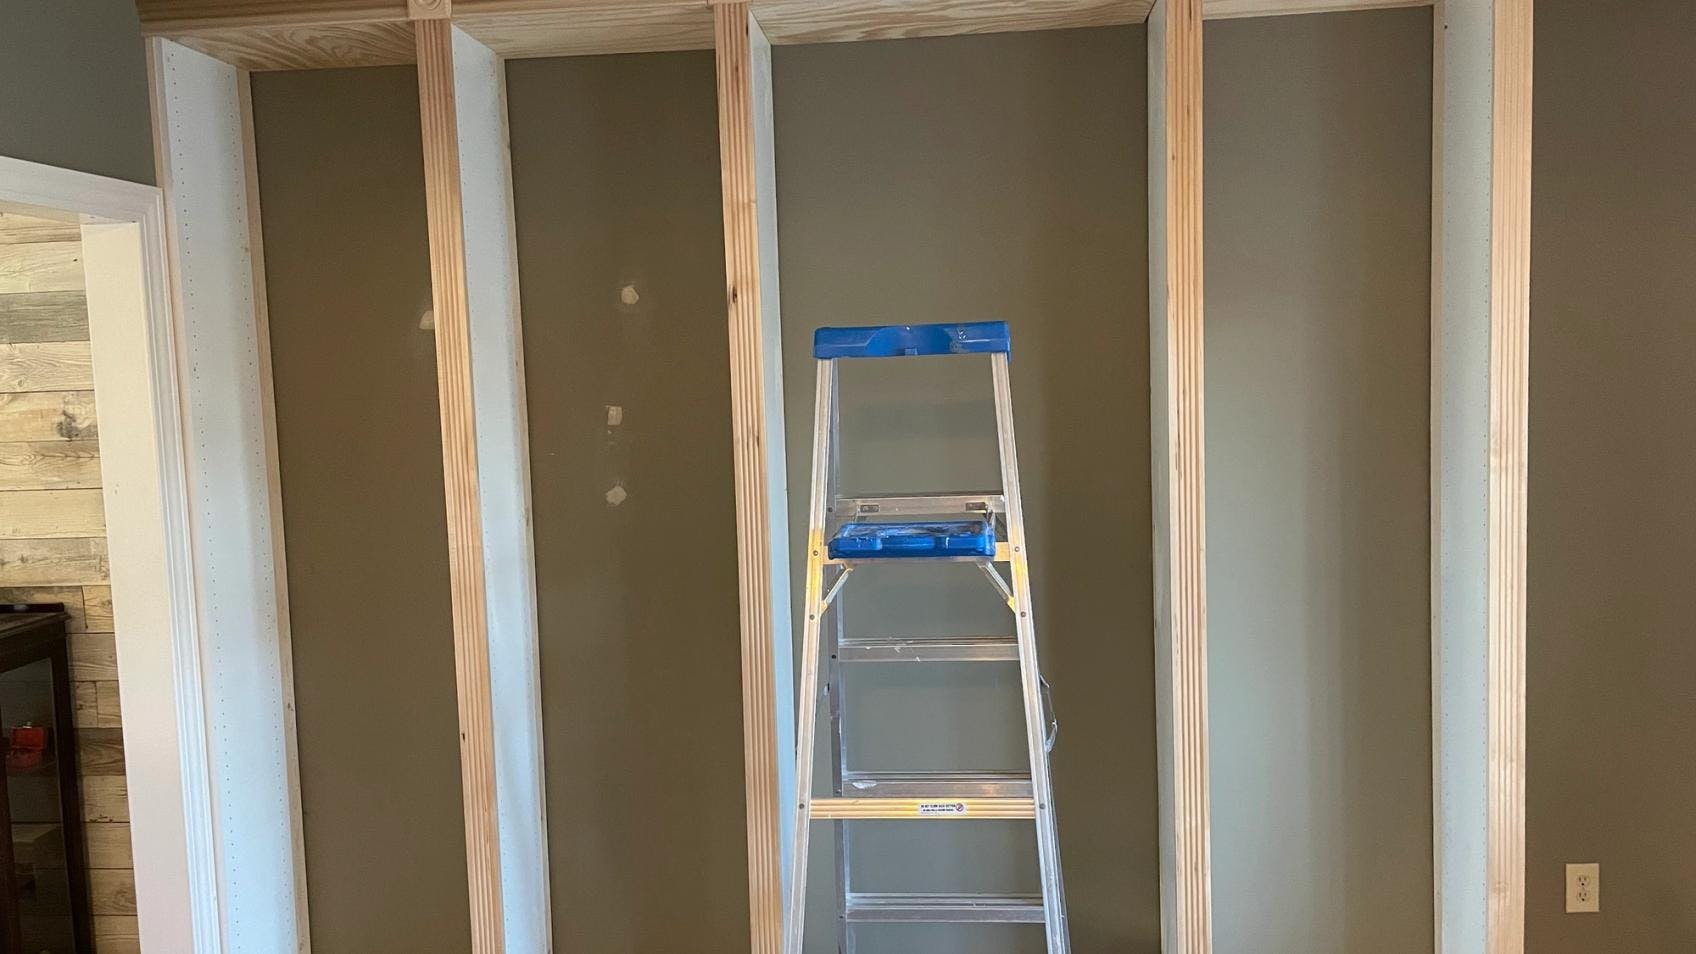
Framing
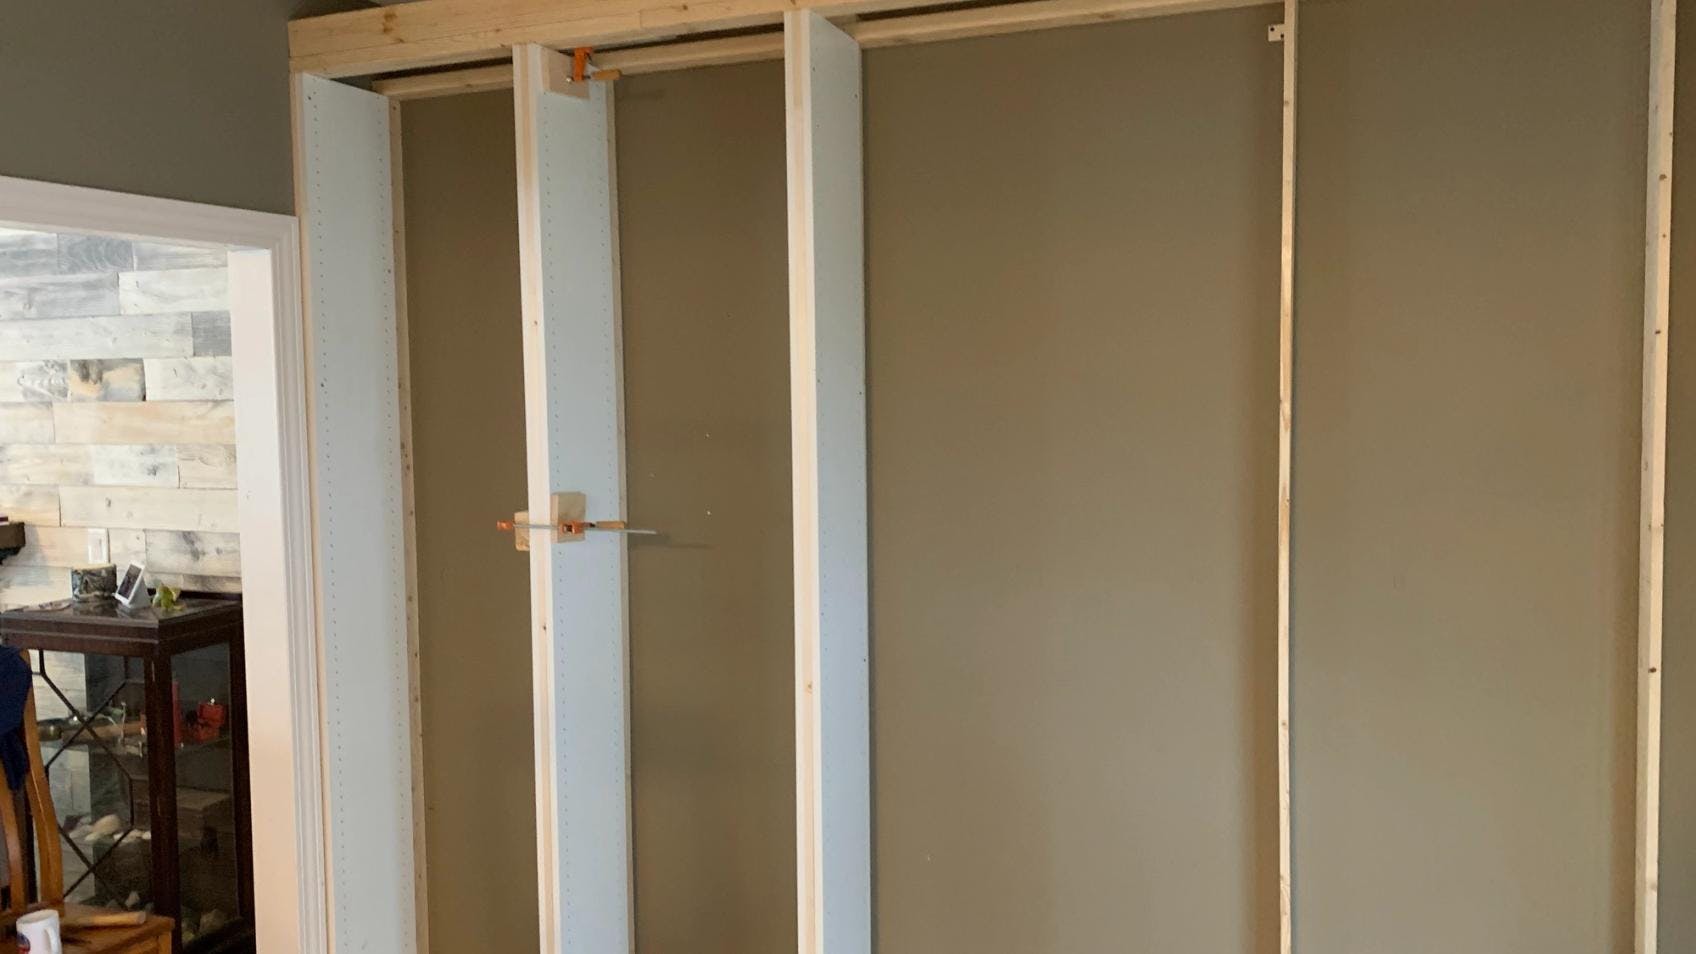
Framing the bookshelf by: Michael Mongon
Framing is fun and it can be fast, but if you mess up this part you are going to pay for it later. You want to make sure it’s level, and wood shims are a great way to have permanent supports to make sure everything is level. This is what is going to be the setup for the rest of the work so as fast as it goes, it also not something to do without focus.
With the framing came the shelving walls. This is where we chose to have fun with the size. To give it more focus on the center, we chose to make the center a little wider at 38” which left us 4 smaller 26½“ out shelves. We could have made any of them any width after the framing. Think about what you want for your self and you can change as needed. Even widths look good though so centering everything and making it even is important.
The Shelves
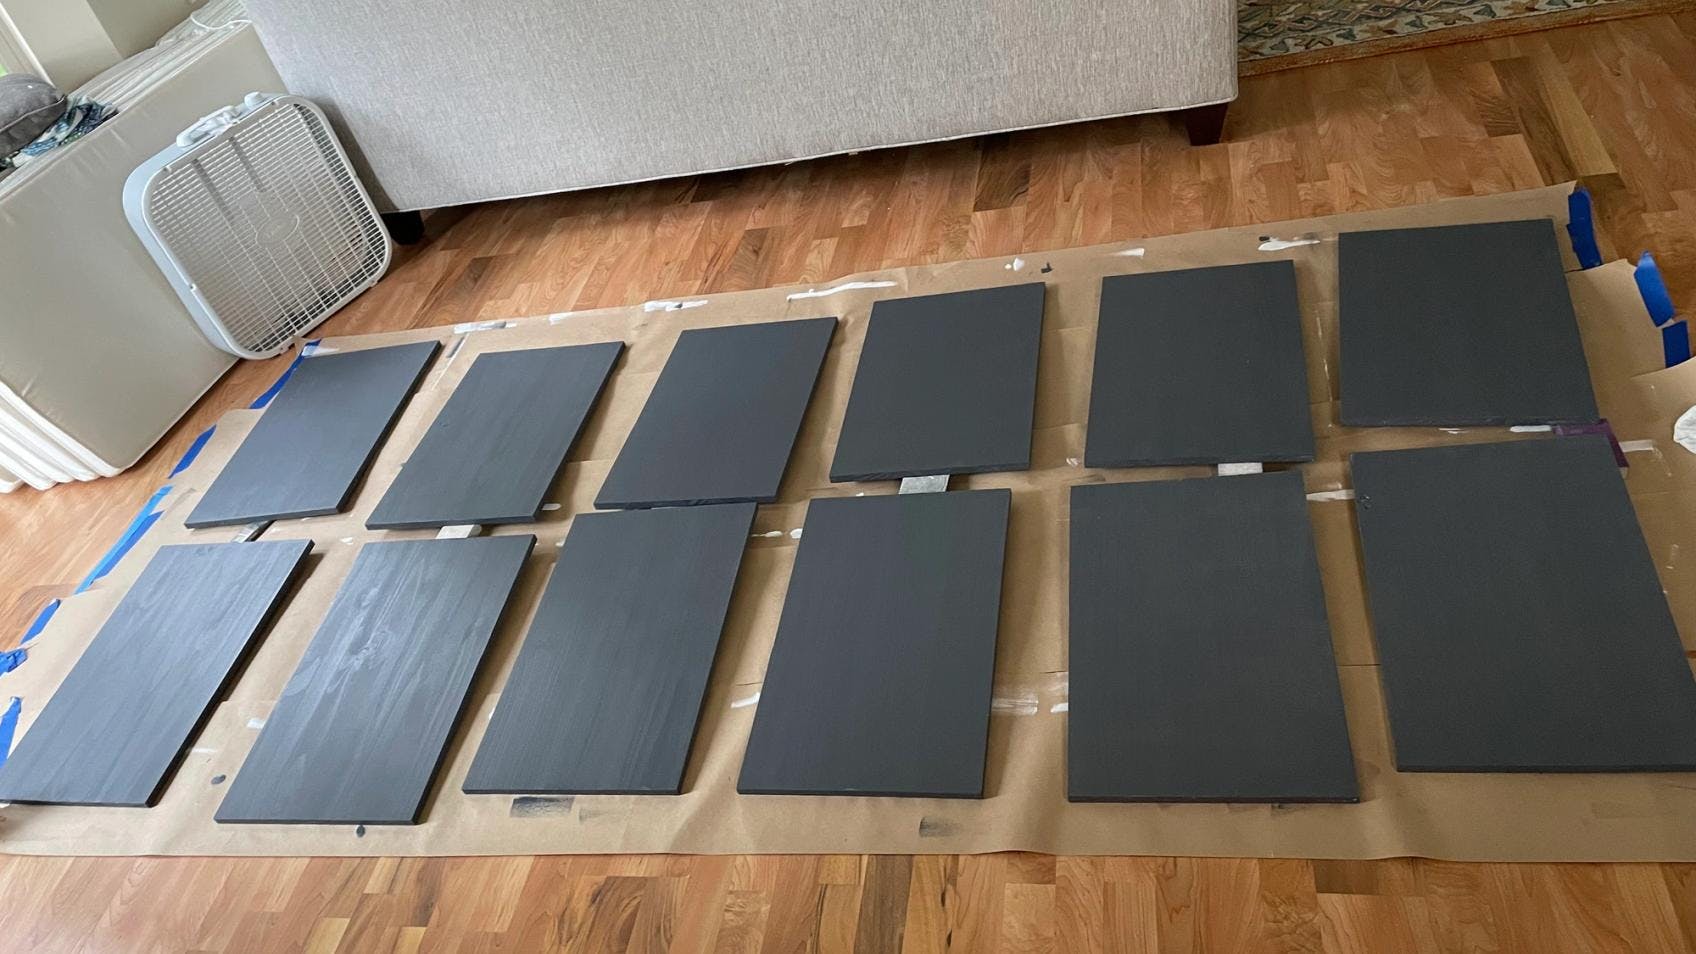
The Shelves, so many to cut, and so many to paint by: Michael Mongon
The shelves themselves were the biggest amount of work. Sadly it also pointed out the imperfection of my craftsmanship. For the skilled eye, the 2nd shelf on the right had a small curve causing the back to be 1/4“ curved in than the rest. You don’t notice it with books on it, but you do when you are trying to cut every shelf even and slide them in.
Finishing Touches
Finishing Touches make any project look better by: Michael Mongon
The most enjoyable part was picking out those finishing Rosettes and Plinths. Until this point, everything looks rather rough. Like all good developments though it's the refinement at the end that makes everything look polished.
You add the areas that look nice. You use wood putty to smooth out the screw marks and sand it smooth. You clean up the imperfections you made along the way. When that is all done, you give it paint.
Conclusion
We had to make our shifts along the project. Being that it was a personal project we had the liberty that changing scope didn’t matter as much as a changing budget. We cut out the rolling ladder, although that could be mounted later at any time with the study frame we added. We cut lighting, because of the extra expense we didn’t want, but that too could be added later. The finished product was what we wanted, and it is a home library the whole family can now enjoy. We learned a bit more along the way and it made us better craftsmen for it.